How to Design a Spiral Rock Garden
We have a lot of flower beds and not enough time to maintain them all, so we did a DIY project and turned one of our front flower beds into a spiral rock garden. As I work with chakras and they are a spiral shape and the spiral is a sacred symbol that represents the journey and change of life, I wanted to incorporate it into my Zen spiral rock garden plan. It was the perfect time to do a makeover and design a simple, easy-to-maintain space that would add curb appeal to our home. In this post, you’ll learn about spirals and chakras as well as how I planned the rock garden, chose the contrasting colors, prepared the space, sorted the stones into different sizes, laid out a template, and placed the rocks for the final design. This idea can be adapted to create an architecturally beautiful Zen stone garden spiral for any small space garden.
Before I began the DIY project, I did a rough sketch of my design. As I work with chakras which are a spiral shape, the spiral is a sacred symbol that represents the journey and change of life according to TainoAge, and I knew that doing this kind of DIY project would help me ground and balance my root chakra, I wanted to incorporate it into my Zen spiral rock garden plan. I would recommend sketching out your plan before you start as it will make the process go a lot smoother.
First step was to clear out the existing landscape bark and stones then, replace the landscape fabric (affiliate link) as needed. We rolled the big rocks out of the way and later incorporated them into the Zen spiral.
I decided to go with a darker stone for the large garden stone spiral to contrast the lighter beige color of our house, and to add contrast with lighter colored rocks and black landscape bark. I gathered and sorted the dark-colored rocks into 3 basic sizes trying to keep the rounded stones together to use near the center of the spiral. I repeated the same process using the lighter-colored stones.
Referencing my pencil sketch I started mapping out a rough outline for placement of the dark stones. The borders were adjusted as I created the first spiral rock design in the garden bed.
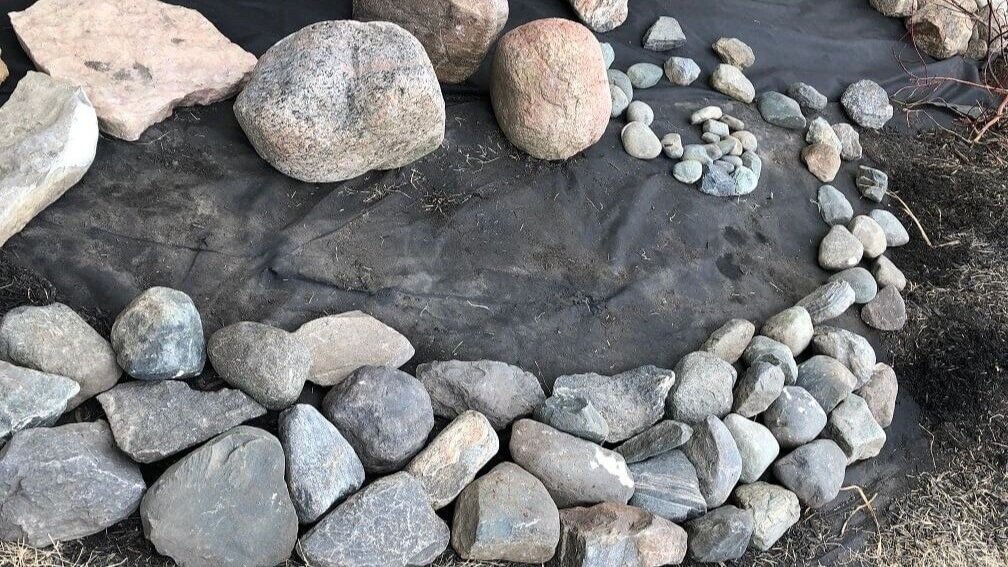
I put the bigger dark-colored rocks on the larger part of the spiral (to the bottom left in the photo). Then worked my way to the center of the spiral by placing medium dark-colored rocks (middle to the lower right in photo) followed by smaller rounded rocks near the center of the spiral (top right in photo). The sizes, shapes, colors of stones, and width of the rock spiral were adjusted as my design progressed to give it a good flow and create the Zen feel I was going for.
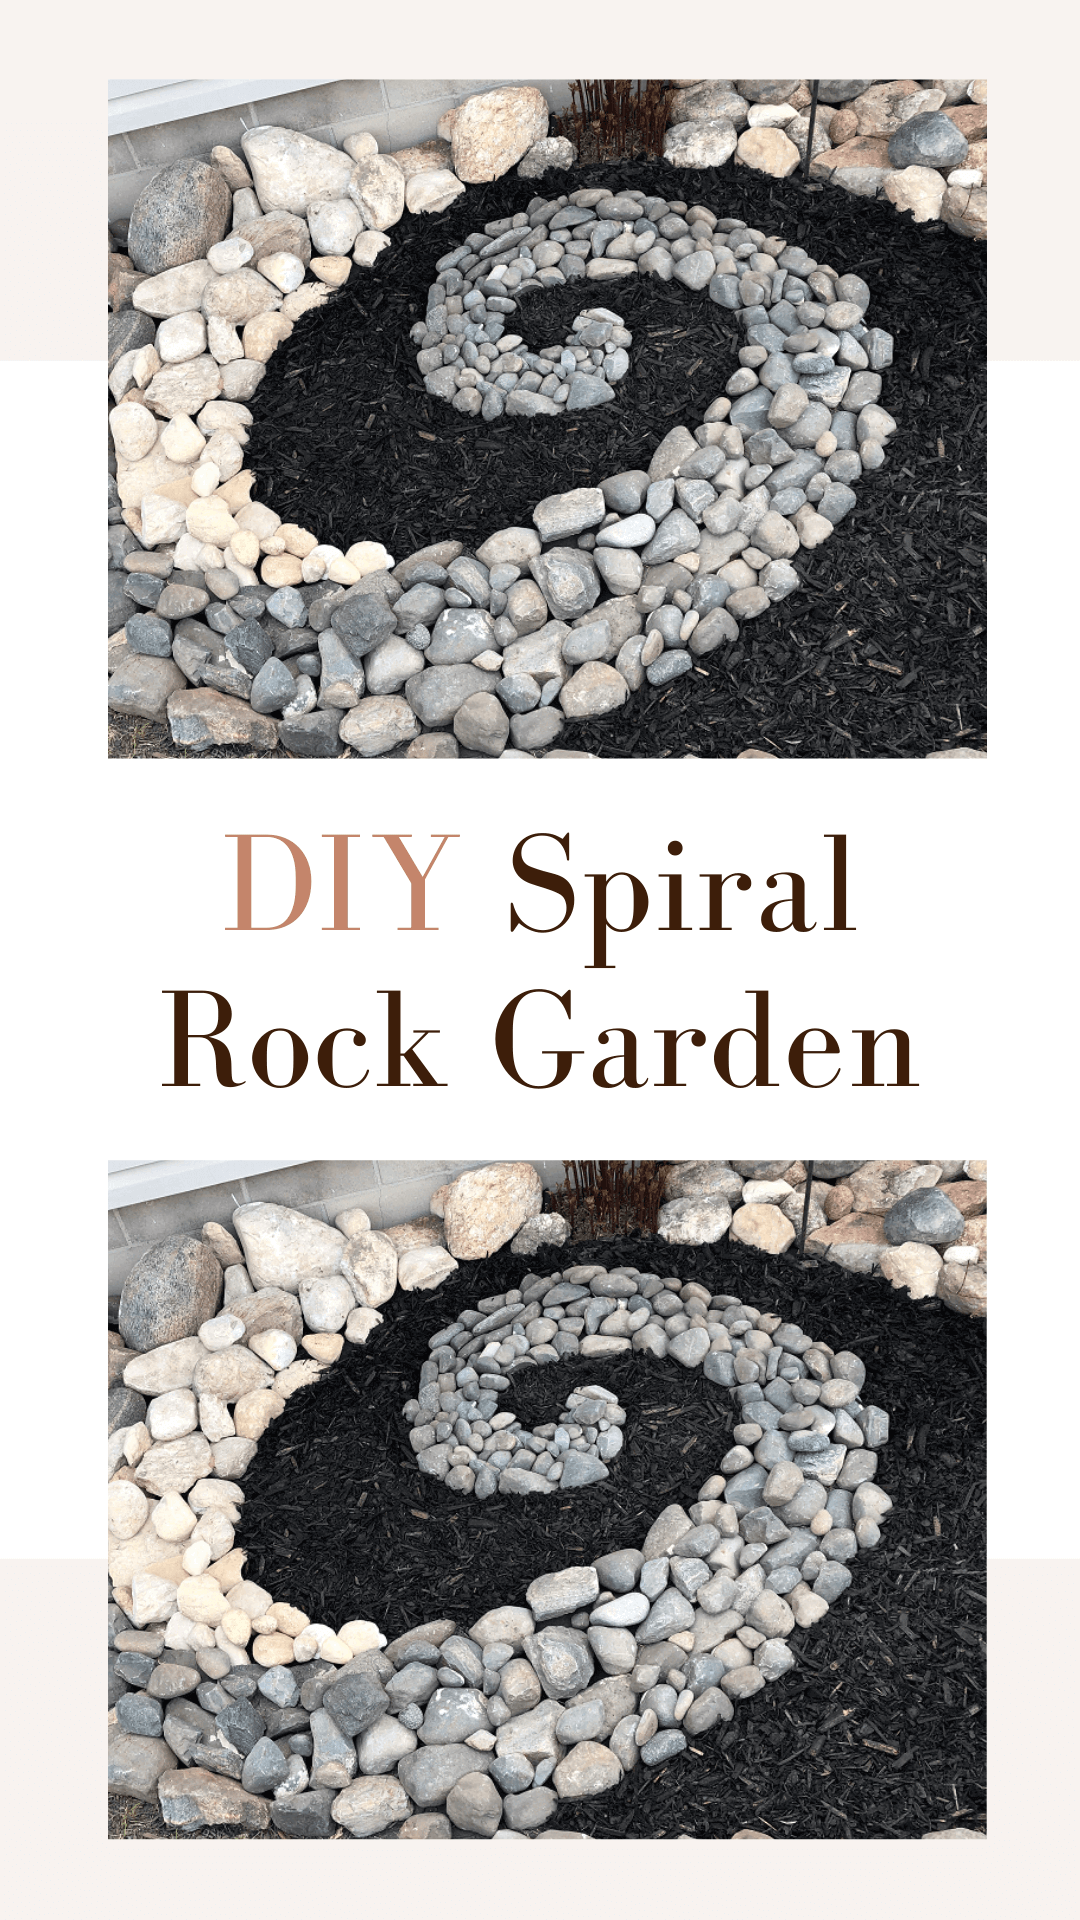
After the darker stones were in place, I followed the same steps and created the lighter colored rock spiral. I found that the color contrast was needed to make the spirals stand out and create more curb appeal for our home.
I added landscape bark as a final touch using 1 1/2 bags of Scotts Nature Scapes Classic Black landscape bark.
The final spiral measures about 12 x 6 feet and allowed us to add curb appeal to our home with the addition of only a few plants. It made this small space appealing and easy to maintain.


